「NFTを始めるにはオープンシーが必要って聞いたんだけど、どうしたらいいのかな?」
「オープンシーのアカウントの作成方法を知りたい」
と思っているの人も多いのではないでしょうか?
この記事では、初心者でもできる「オープンシーの登録の仕方」を紹介します。
 マルくん
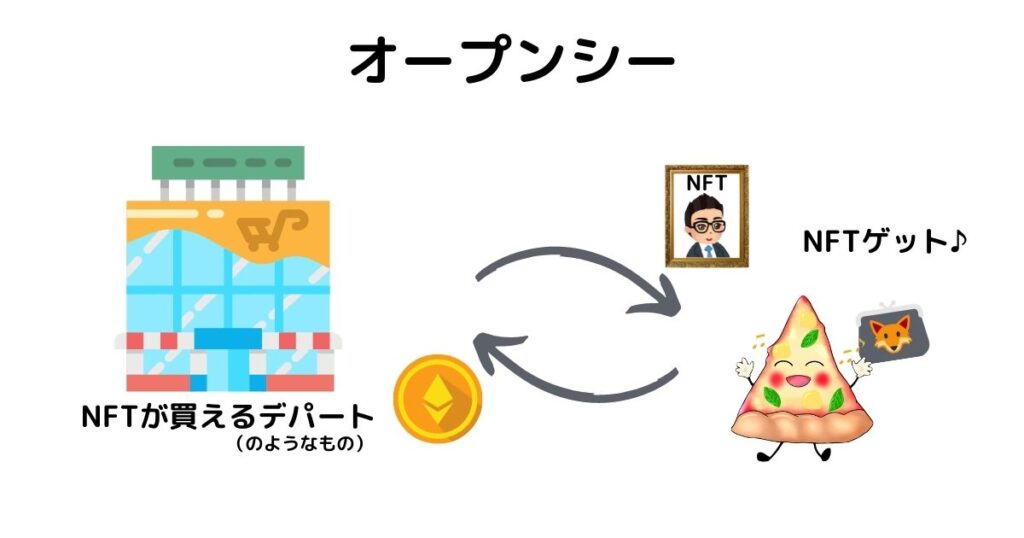
マルくんそもそもオープンシーって何?
オープンシーは、NFTを取り扱うデパートのようなものです。
 まるげり
まるげりオープンシーのアカウント登録をしたら、NFTを探したり買ったりできますよ
【必ず必要なもの】↓
- メタマスク
- メールアドレス
【あれば役立つもの(無くてもOK)】↓
- アイコン画像(350×350px推奨:最大100MB)
- アイコンの背景バナー画像(1400×400px:最大100MB)
- 連携したいTwitter・Instagram・ブログのURL
この記事は”STEP5″です
イーサリアムのNFTを購入したい方は、「イーサリアム」と「メタマスク」の準備が必要です。
まだ準備できていない方は、こちらの手順に沿って進めましょう↓


STEP1.オープンシーのアカウント作成
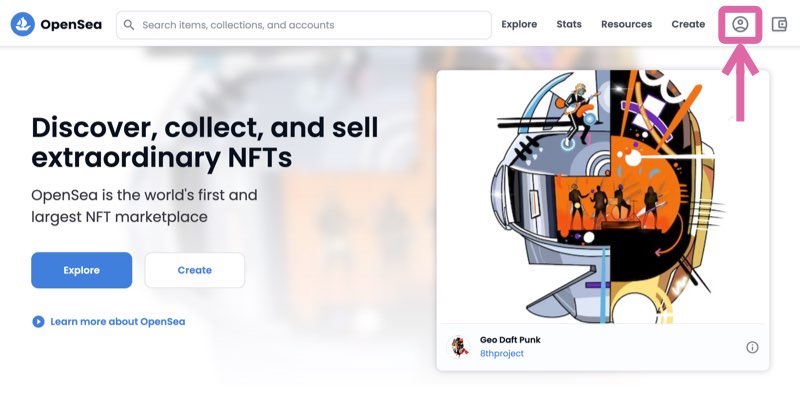
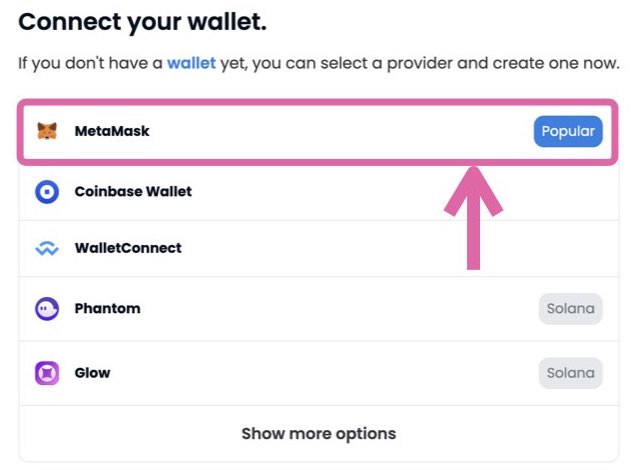
まずは、オープンシーの公式サイトへいきます。
下のリンクは公式サイトのものなので、安心して使ってくださいね↓
 まるげり
まるげり今後オープンシーに行くときは、リンク先が「https://opensea.io/」になっているか確認してクリックするのがオススメです
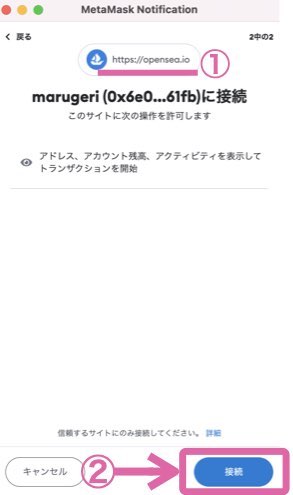
STEP2.オープンシーとメタマスクの連携
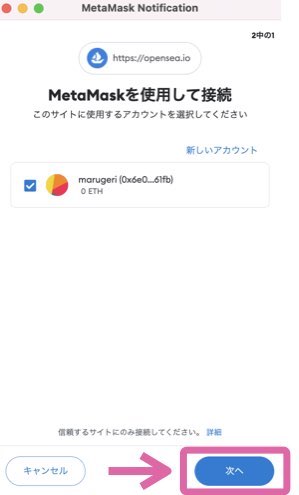
①接続先が「https://opensea.io」になっているか確認してから
②「接続」をクリックしましょう
 まるげり
まるげりメタマスクを接続するときは、接続先のリンクを確認するクセをつけておきましょう
 マルくん
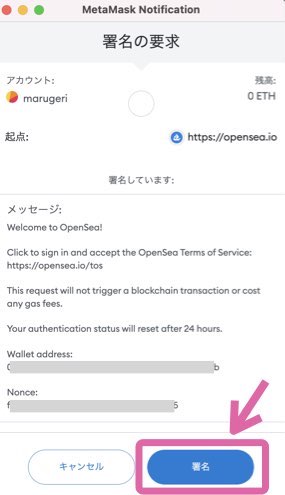
マルくんうわ!英語だ…
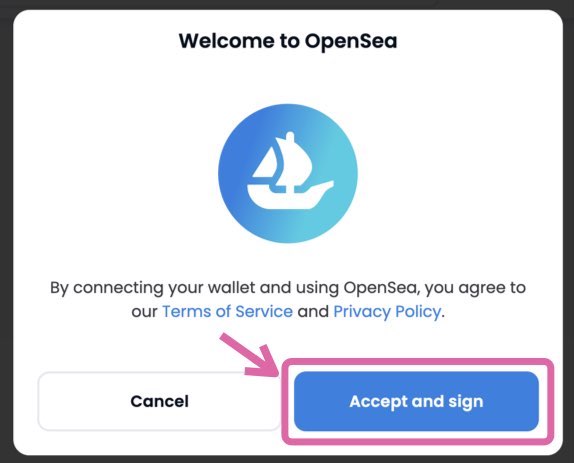
メッセージの内容は、以下の通りです(DeepL使用)
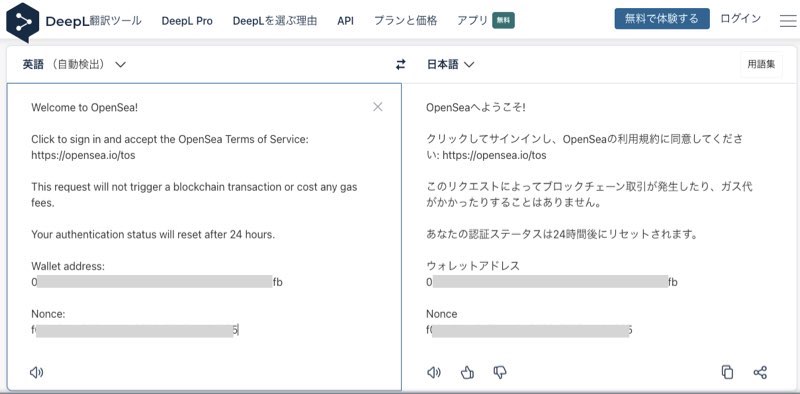
ざっくり内容をいうと
- 利用規約に同意してね
- このリクエストでは「取引は始まらない」「ガス代はかからない」から安心してね
ということが書かれています。
以下の画面になったら、オープンシーとメタマスクの連携が完了です。

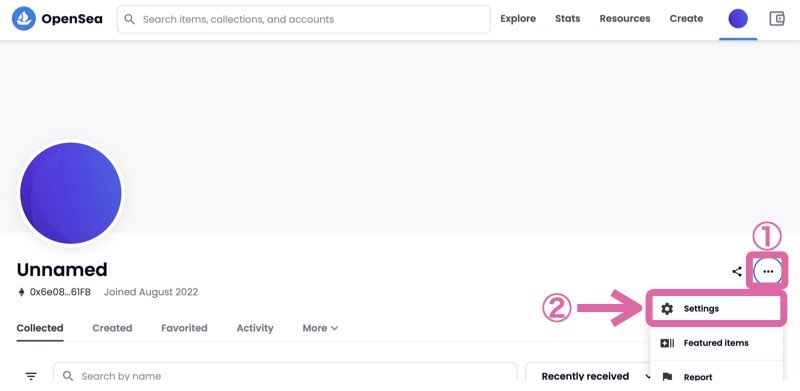
STEP3.オープンシーのアカウント設定
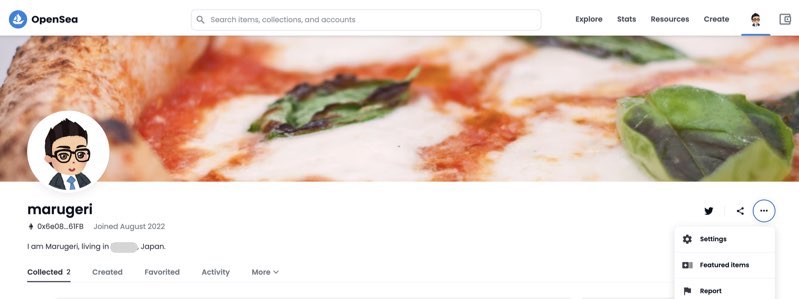
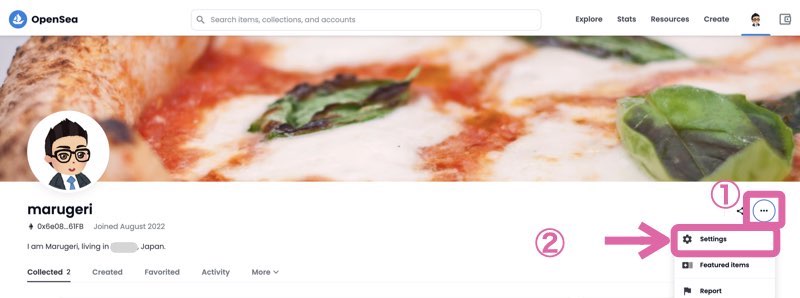
オープンシーのアカウントを整えていきましょう。
右のメニュー「…」をクリックして、「Settings」を選ぶ↓
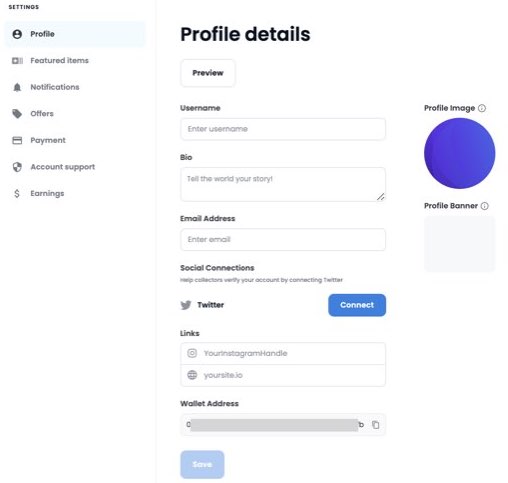
この画面になったら、下の表を参考に情報を入力しましょう。
| 項目 | 内容 |
|---|---|
| Username | 好きな名前 →(例)まるげり |
| Bio | 自己紹介 →(例)はじめまして、まるげりです |
| Email Address | メールアドレス |
| Profile Image | プロフィールアイコン (350×350px推奨:最大100MB) |
| Profile Banner | ブロフィールの背景画像 (1400×400px推奨:最大100MB) |
| Social Connections (Twitter) | Twitter連携 (連携したい人も、ひとまず飛ばして先に進みましょう) |
| Links | Instagram・ブログのURL (連携したい人も、ひとまず飛ばして先に進みましょう) |
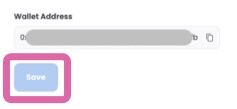
| Wallet Address | そのままでOK |
入力が終わったら「Save」をクリックします。
まるげり「Wallet Address」はそのままでOKです
設定を保存したら、メールが届くので「VERIFY MY EMAIL」をタップ↓
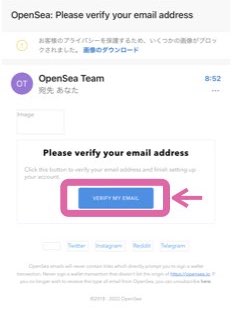
この画面になったらOKです↓

アイコンや背景画像、プロフィール文などが反映されていたらOKです。
マルくんTwitterやInstagramと連携したい!
Twitter・Instagram・ブログと連携したい人や、登録情報を修正したい人は、以下の手順で行いましょう↓
プロフィール修正方法(タップ)
右の「…」をクリックして「Settings」を選ぶ↓
 まるげり
まるげりあとは修正したいところを変更していきましょう
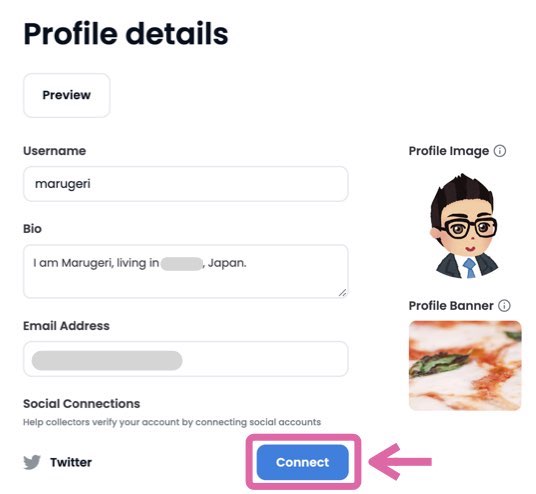
Twitterと連携したい人
Twitterの横の「Connect」をタップ↓
右上のアイコンが接続するアカウントになっているかを確認してから「連携アプリを認証」をクリック↓
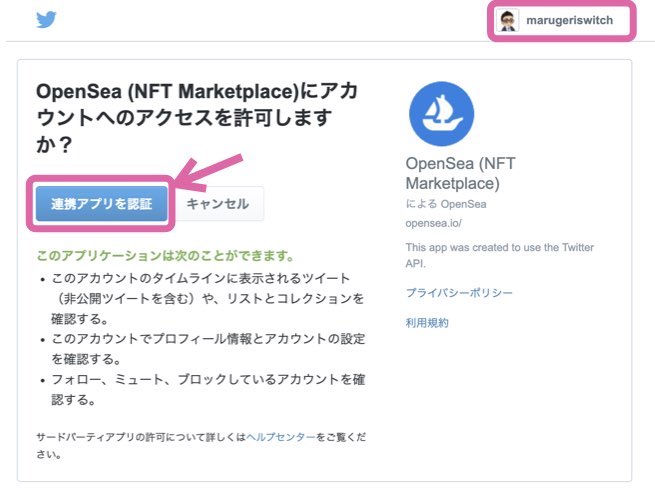
これで完了です。
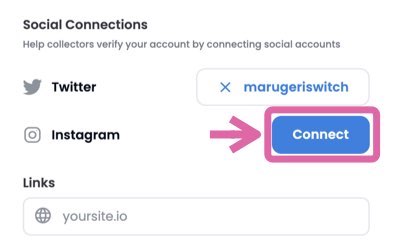
Instagramと連携したい人
Instagramの横の「Connect」をクリック↓
「許可する」をクリック↓
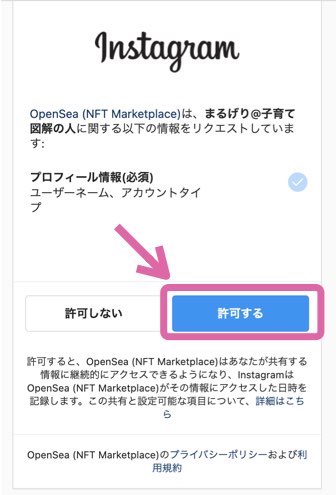
これで完了です。
ブログと連携したい人
Linksの「yoursite.io」にURLを入力↓
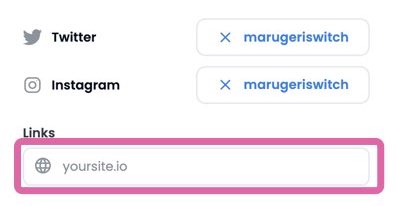
これで完了です。
まるげり最後に「Save」を忘れずに!

まとめ
オープンシーの登録の仕方を紹介しました。
暗号資産取引所の開設・メタマスクのダウンロード・オープンシーの登録ができたら、NFTの購入までと少しです。
残りの手続きもクリアしていきましょう。
この記事は”STEP5″です
購入の全体像を確認したい人はNFTの始め方6ステップ記事へ>>